iOS 16: 15 Tips to Make Your iPhone Battery Last Longer
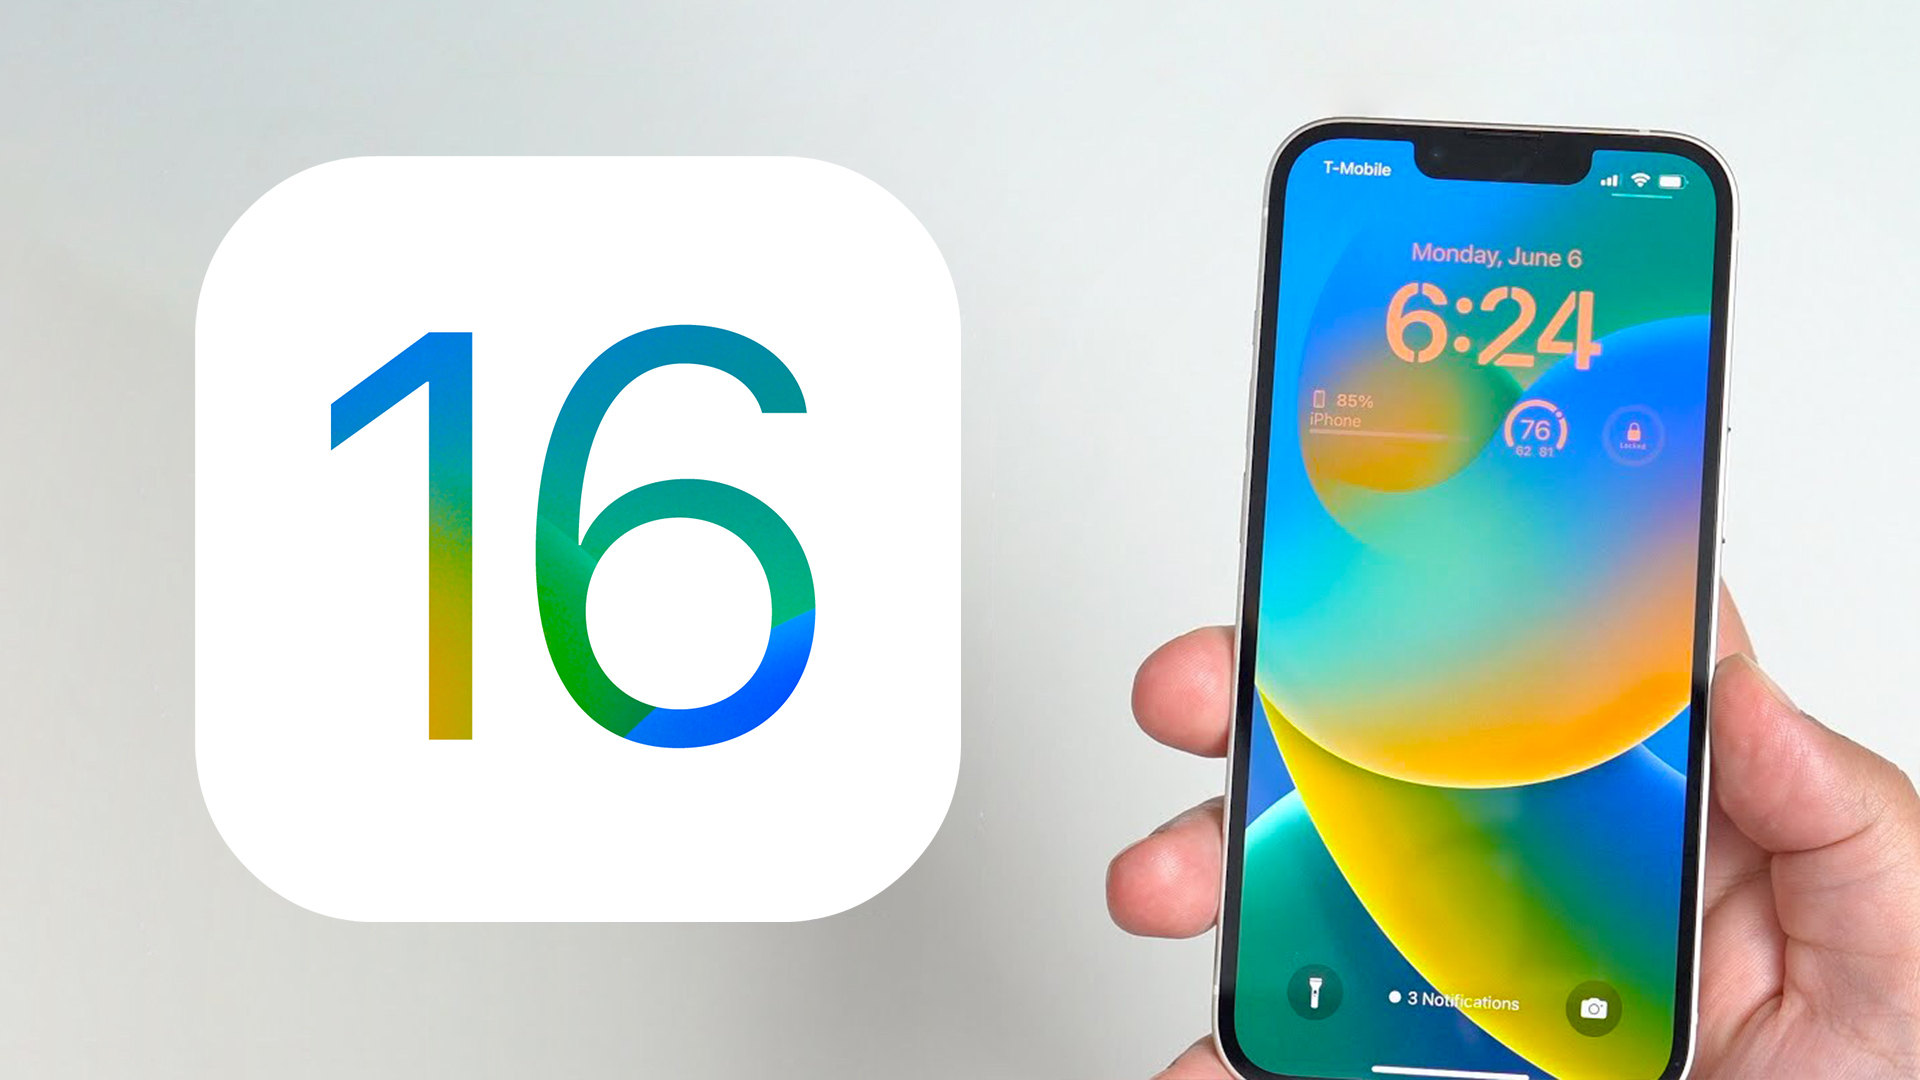
With each new operating system update, there are complaints about battery life, and iOS 16 is no exception. There are oftentimes periods of rapid battery drain after an update due to behind the scenes syncing and updating, but sometimes problems can persist longer.
Battery life problems can be caused by new features Apple has implemented, bugs that need to be fixed, or simply an uptick in usage after an update. Whatever the cause, we’ve rounded up some suggestions on how you can eke out more battery from your iPhone in situations where every last bit is important.
Note that there aren’t many suggestions that don’t disable key features on the iPhone, so you will have to balance battery drain with the feature set that you want enabled, turning things off and on as needed when better battery life is required.
1. Turn Off Live Activities
With iOS 16.1, Apple added a Live Activities feature that allows apps to keep an ongoing notification on the Lock Screen or in the iPhone 14 Pro‘s Dynamic Island. Live Activities can be used for things like tracking a sports game, following along with a flight, progressing through a workout, and more, right from the Lock Screen or Dynamic Island.
Everything that you do on your iPhone drains battery, including Live Activities. There have been reports on Reddit about disabling the feature improving battery life, and it’s not a surprise that turning off a constant notification puts a stop to excessive battery drain. Live Activities can be disabled by following these steps:
Open up the Settings app.
Go to Face ID & Passcode.
Enter your passcode to unlock the iPhone.
Scroll down and toggle off Live Activities.
This will prevent Live Activities from showing up on the Lock Screen, but you’ll want to take this one step further. In the individual app sections in the Settings app, you can disable Live Activities on an app-by-app basis, or avoid using Live Activities features within apps.
You can’t fully disable the Dynamic Island, but you can swipe left on any running animation to dismiss it.
2. Delete Lock Screen Widgets
With iOS 16, Apple overhauled the Lock Screen, adding the option for widgets. Widgets are constantly visible on the Lock Screen and many are refreshing in the background, which means they’re eating up battery.
If you’re concerned about battery life, you may want to create a Lock Screen that doesn’t have widgets. Luckily, iOS 16 supports multiple Lock Screens that you can swap between, so if you occasionally want to use widgets, you can.
For details on adding widgets, removing widgets, and creating Lock Screens, we have a dedicated iOS 16 Lock Screen guide.
Widgets can also go on your Home Screen, a pre-iOS 16 feature. We recommend not using Home Screen widgets for those concerned about battery life.
3. Disable Haptic Keyboard Feedback
Apple in iOS 16 also added a fun feature that gives you haptic feedback when you use the on-screen keyboard. It vibrates with each key tap for a more satisfying typing experience, but what you might not know is that it drains battery.
Apple says right in a support document that keyboard haptics might affect battery life, so it’s not something you want to use when you don’t have battery to spare. It’s not on by default, but if you’ve enabled it, you can turn it off by following these steps:
Open up the Settings app.
Tap on Sounds & Haptics.
Tap on Keyboard Feedback.
Toggle off Haptic.
4. Turn Off Always-On Display (iPhone 14 Pro)
Always-on display isn’t an iOS 16 feature, but it is tangential because it was introduced with the iPhone 14 Pro and Pro Max, the first devices to come with iOS 16 pre-installed. As the name suggests, always-on display leaves the time, your wallpaper, widgets, and Live Activities visible on the Lock Screen even when your iPhone is locked.
The display is using a 1Hz refresh rate to preserve battery, and Apple has neat tricks like turning off the display when a connected Apple Watch is no longer nearby (signaling that the iPhone owner is out of the room) or the iPhone is in a pocket, but always-on display still drains battery faster than no always-on display.
You can turn off the always-on display by following these steps:
Open up the Settings app.
Tap on Display & Brightness.
Toggle off Always On.
It’s not really clear just how much battery life the always-on display drains because it’s going to vary from use case to use case, but even if it’s only a few percent, it’s worth turning off, especially if it’s not a feature that you find useful.
5. Don’t Use iCloud Shared Photo Library
iCloud Shared Photo Library is an iOS 16.1 feature that lets you use a standard Photo Library alongside five other people, with everyone able to upload, edit, and delete images. Using iCloud Shared Photo Library could cause photos from others to be synced to your iPhone at inopportune times, draining battery life.
If you’re concerned about battery, it’s one of the features that might be helpful to avoid using by not setting it up and not accepting invitations to join. If you want to use iCloud Shared Photo Library but still cut down on battery and data usage, you can turn on a setting that only allows syncing over Wi-Fi.
Open up the Settings app.
Scroll down to Photos.
Tap on Cellular Data.
Toggle off Cellular Data.
Uploads will be restricted to Wi-Fi, so photos shared with you won’t download to your device when you only have a cellular connection.
6. Choose Non-Animated Wallpapers
Some of the fancy wallpapers that Apple added with iOS 16 are animated, and an animated wallpaper will drain just a bit more battery than a static wallpaper. If you’re optimizing and don’t care much for the animations, choose something that’s not going to update throughout the day.
The Weather wallpaper, for example, changes based on the conditions, and the Photo Shuffle option swaps through your selected photos during the day. The Astronomy wallpaper also changes based on current conditions.
7. Use Focus Modes
Using Apple’s built-in Focus option can cut down on the number of notifications that you’re receiving during the day, and fewer notifications means less opportunity for apps to wake up your display and cause battery drain.
Focus Modes let you choose which apps and people can send you notifications and when, so during work hours you can make sure you’re only getting work notifications, and during personal time, you can limit your work notifications. You can limit notifications when driving, when you’re asleep, when you’re working out, and in any other scenario you can think of. Focus Filters even let you filter out select emails, messages, calendars, and more.
You’ll still get all of your notifications when the Focus mode ends, but all in one alert rather than multiple. Turning off unwanted notifications from apps is still the best method for saving battery life, but Focus lets you keep your notifications while still cutting down on the number that you receive at any given time.
Apple made Focus modes easier to set up in iOS 16, but it still takes some work to get everything running, so we have a dedicated Focus guide. You can find all of the Focus features in the Focus section of the Settings app.
8. Use App Summary
It’s also worth making sure that any app that sends non-important notifications is relegated to the App Summary, which saves up notifications and sends them to you once or twice a day. App Summary isn’t an iOS 16 feature, but if you’re not already using it, it’s worth checking out.
You can toggle on App Summary for apps in the Notifications section of the Settings app.
9. Limit When and How Often Apps Can Access Location
These next several tips aren’t iOS 16 specific, but it’s always good to check in on these settings to make sure apps and services aren’t doing things you don’t want them to be doing.
Limiting the apps that have access to your location and how often apps can access that data can save battery life.
Open up the Settings app.
Choose Privacy.
Tap Location Services.
Review the list and edit settings by tapping on the name of each app in the list.
You have four possible choices for location settings for each app, though not all four choices will always be available for every app depending on what it does. You can select the following: Never, Ask Next Time or When I Share, While Using the App, and Always.
Never will prevent an app from ever accessing your location, and unless there’s a specific need for an app to know where you are, such as a mapping app, setting location access to Never is the best choice.
Ask Next Time will prompt an app to ask you with a popup the next time that it wants your location, so you can temporarily approve it. With this setting, location access is off until expressly allowed via the popup.
While Using the App allows the app to detect your location only when the app is open and being actively used. If you close the app or switch over to another app, location access ends.
Always allows an app to have access to your location at all times, regardless of whether it’s open or closed. This will result in the most battery drain and should be limited to only the apps that you need the most.
A lot of apps will ask for location information that don’t really need it to function (for example, a banking app might want location access to show nearby ATMs, which is also available through entering a zip code), so clearing the cruft will ensure no apps are accessing your location without express permission.
You can also turn off Location Services all together, but it’s not ideal because it can impact crucial apps like Maps.
10. Limit Apps Using Bluetooth
Your iPhone lets you know when apps have requested Bluetooth, and there are quite a few apps that want Bluetooth access for location tracking, scanning for Chromecast devices, or other not so useful reasons.
Checking on the apps using Bluetooth is worthwhile to make sure that you don’t have a sneaky app connecting to Bluetooth sources without your permission and draining battery. To get to Bluetooth settings:
Open the Settings app.
Tap on Privacy.
Tap Bluetooth.
Apps like Facebook, HBO Max, Hulu, and others don’t need Bluetooth access for the most part, so toggle off any app that doesn’t need a Bluetooth connection to function. If a feature in an app stops working, you can just turn it right back on.
Disabling Bluetooth is also an option, but it’s used for AirPods, Apple Watches, and other accessories, so turning it off isn’t feasible for most people.
11. Use Low Power Mode
Using Low Power Mode liberally is an obvious choice for maintaining battery without having to hassle with a lot of settings, and you can toggle it on from Control Center, the Settings app, or using Siri. Low Power Mode cuts down on background activity, turns off your display after inactivity more quickly, limits display refresh rate, limits email fetch, cuts down on visual effects, and more.
Low Power Mode can be set to turn on at a certain battery percentage using Shortcuts, which is a handy way to have it automatically turn on when you need it.
12. Use Wi-Fi and Airplane Mode
When you can, it’s best to connect to Wi-Fi to maximize battery life, and it’s one of the battery preserving tips that Apple offers. At home or at work, make sure you connect to Wi-Fi rather than using cellular signal.
If you’re in an area with no Wi-Fi and you know you have low cellular signal, turn on Airplane Mode or turn off your cellular connection so it’s not draining your battery trying to connect. This of course only works when you don’t need a cellular connection in the moment, but it can have a big impact and you probably can’t do much with low signal anyway.
13. Manage Apps Draining Battery
Your iPhone tells you which apps are eating up the most battery so you can make sure nothing is secretly draining your battery without your knowledge. You can check your battery usage statistics by opening up the Settings app and tapping on the Battery section.
Battery usage charts let you see your battery level over the last 24 hours or for the last 10 days, plus you can see which apps have used the most battery life. If there’s an app that you don’t need that’s draining an excessive amount of battery, delete it. If you do need the app, moderate how often you’re using it and what permissions it has like location.
14. Limit Background Activity
Almost all apps use background refresh to update even when they’re not open, and limited background activity and background refresh is a longtime favorite option for cutting down on battery usage.
You can turn off Background App Refresh all together or choose which apps can refresh in the background.
Open the Settings app.
Select General.
Choose Background App Refresh.
From here, you can tap the Background App Refresh option again to turn Background App Refresh off all together or choose to have it activate only when connected to WiFi, which doesn’t drain battery as much as downloading over cellular.
You can also choose to turn Background App Refresh on just for your most used apps by tapping on the toggle next to each app in the list.
15. Change Your Mail Settings
Along with turning off Background Refresh, changing when and how often the Mail app checks for new emails can save you some battery.
Open up the Settings app.
Tap Mail.
Tap Accounts.
Tap “Fetch New Data” at the bottom.
From here, you can turn off Push (which lets you know right away when a new email message is available) and adjust Fetch settings on a per account basis for accounts that don’t support Push (like Gmail accounts).
Adjusting the Fetch settings to have longer intervals before checking for new messages can help save battery life, as can turning off Fetch all together in favor of manual checks that will download new messages only when the Mail app is opened.
You can choose the following settings: Automatically, Manually, Hourly, Every 30 Minutes, and Every 15 Minutes.
Conclusion
There are endless things to do to preserve battery life, and unfortunately, everything you use your phone for is going to drain battery, so it’s all about finding what works for you, what you don’t need, and where you can compromise to extend battery life.
This article, “iOS 16: 15 Tips to Make Your iPhone Battery Last Longer” first appeared on MacRumors.com
Discuss this article in our forums
