Here are some useful things that Monster Hunter Rise doesn’t explain to you
While Monster Hunter Rise is the most accessible of the franchise, there are still many things you need to figure out on your own.
Monster Hunter Rise for the Nintendo Switch is finally here, and it’s packed with a ton of monster-slaying content to enjoy. It’s also one of the most accessible Monster Hunter games to date, making it a great entry point for newcomers to the long-running series. However, even though the game has plenty of tutorials and holds your hand through many of the basics, there are still things that the game doesn’t tell you.
Here are some of the most important things that Monster Hunter Rise doesn’t tell you from the get-go, and you’ll need to discover these things on your own. And don’t forget to pick up one of the best microSD cards for your Nintendo Switch because there will be plenty of moments that will make you want to record a video or take a screenshot.
Hold R to run up walls
The game doesn’t explicitly tell you this, so I was actually confused as to how others were climbing up mountainsides effortlessly. Basically, use your Wirebug to get up on a cliffside, and then continue to hold the sprint button (R) to run along the wall and get to the top. Otherwise, if you don’t hold down the button, your hunter will run on the wall for a little bit and then jump off.
It’s important to remember that running along a wall does consume stamina, but that leads us to the next tip…
Wirebugs can refill stamina
It’s important to try and chain together movement with the Wirebug, and that’s because the Wirebug can help you refill stamina when doing things like wall climbing. While you’re in midair, hold the A button to hang off of a Wirebug — this lets your stamina recharge.
Pay attention to the color of damage numbers
In previous games before Monster Hunter World, you didn’t even get damage numbers. However, since World, damage numbers have become a thing and have made a comeback in Monster Hunter Rise.
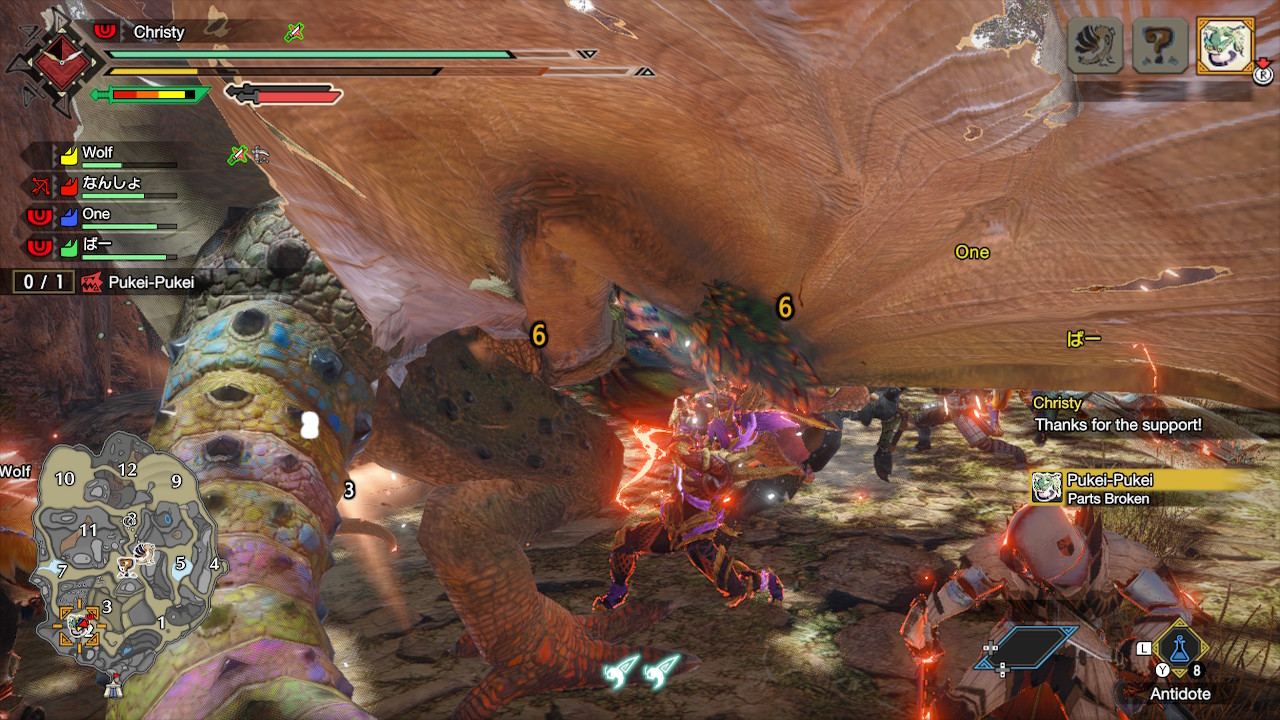
While hunting, you may have noticed the damage numbers showing up in a few different colors: gray, white, orange, and blue. Gray represents the damage done on “hard” parts of the monster that cause your weapon to bounce. White is regular damage, orange tells you that you’re hitting a monster’s weak point, and blue is “mounting” damage from jumping attacks or Wirebug Silkbind attacks. If you have a high amount of Affinity (critical hit chance), then critical hits have a star attached to the number.
It’s important to note when you have blue damage, though, because, after a certain threshold, the monster will go into the Wyvern Riding state.
Wyvern Riding Mounted Punishers lock on
Wyvern Riding is a new mechanic in Monster Hunter Rise that replaces the mounting mechanism from previous games. With Wyvern Riding, you’re not only mounting a monster, but you can also control its movements for a short while, including attacks.
Aiming the light or strong attacks can be a little tricky, as movement and aim can feel a little cumbersome. But the Mounted Punisher move, which is activated by pressing X and A at the same time, locks on the other monster automatically. So if you’re close enough, activating Mounted Punisher makes the monster turn to face the other monster head-on before unleashing the onslaught of powerful attacks.
Launching mounted monsters into other monsters lets you change mounts
Speaking of Wyvern Riding, the launch feature, which you usually use to make a monster crash into a wall or obstacle, can also be used at other monsters for more damage. But there’s another trick to this, too — if you launch a monster into another, that other monster becomes instantly mountable, allowing you to change your mount.
Of course, you may want to make a few attacks on the other monster before launching because they drop free shiny loot this way.
Do a Superman Dive to get out of hairy situations
This move has been in Monster Hunter games for what seems like forever, and it’s insanely useful. However, the chances are high that you may have experienced this completely by accident, but the game will never tell you.
Basically, whenever your weapon is sheathed, turn your hunter away from the monster and sprint. Then press the B button to dodge. When this is done correctly, you’ll dive to the ground rather than do the normal evade roll, which has a longer recovery time than usual. This is a good thing because it provides more i-frames (invincibility frames), so when you do this move right, you can avoid those big attacks, like laser beams, fireballs, and body slams.
There is even a new armor skill that extends the dive-evade distance and lets you do this move while facing the monster instead of away. This skill is called Leap of Faith.
Always sell those Trade-In Items
While you’ll want to try and hold on to every bit of monster parts, ore, and other useful material items, certain items are meant to be sold. These are Trade-In items, and they usually have a description that says “fetches a good price” and have no other purpose. So if you have things like Steel Eggs or Golden Eggs, make sure to sell them right away for zenny.
Of course, you can also sell too many monster materials and ore that you may have from farming too, but I’d try not to do that too much. After all, those items can be used for melding talismans as well, if you’re not crafting weapons and armor.
Block or dodge monster roars
Monsters will roar — this has been a thing in all Monster Hunter games, including Rise. That’s why the Earplugs armor skill is handy, as it reduces and even negates monster roars that can stun you for a few seconds. But you can also avoid a roar stun by doing a dodge roll, though the timing needs to be perfect. Another option is using a weapon with a shield, such as Lance or Sword and Shield, to block it.
English hunter voices provide useful warnings
A brand new thing in Monster Hunter Rise is that every hunter has the option to have voice lines — previously, they just spoke in “Monster Hunter language,” which was nothing more than grunts. While the voiced one-liners can be a little too much at times (I don’t need to hear a quip every time I gather some plants), they can be quite useful in combat.
You see, every monster in Monster Hunter Rise has its own kind of signature ultimate attack with very obvious tells that you’ll learn the more you play. However, your hunter will call out a warning, such as “It’s coming!” or something along those lines. When you hear this, you should prepare for a big attack by doing something like the Superman Dive that we mentioned earlier.
If you’re in a multiplayer hunt, the one-liners can even warn other hunters that the monster is targeting them.
Always look for Spiribirds
There is a lot of useful endemic life in Monster Hunter Rise, but one of the most important is definitely the Spiribirds. These are the only real permabuffers in the game, and gathering them will increase your stats for the duration of the hunt, even if your cart.
Green increases your max health bar; yellow is for stamina, orange for defense, and red boosts attack. I highly recommend grabbing as many of these little guys as you can before finding the target monster and engaging in battle.
Your Palamute can do a doggo drift boost
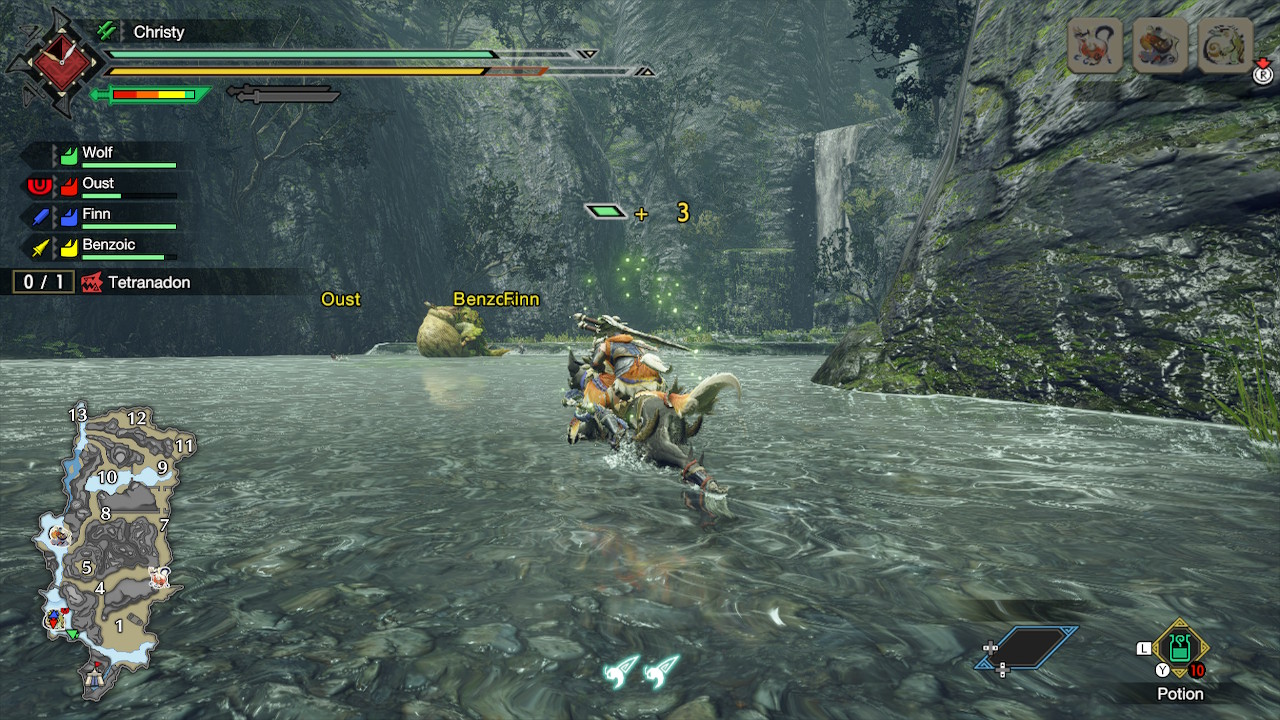
Palamutes are a great way to travel around the map quickly, and it definitely beats having to go everywhere on foot. However, if you want to reach your target monster faster or keep up while it’s trying to flee, you can have your Palamute perform a drift boost, similar to what you do in Mario Kart 8 Deluxe. This is great for turning tight corners, but you also get a speed boost too.
To do the drifting speed boost, press ZL while sprinting on your Palamute.
Palamutes can climb up vines
While Palamutes are great for quickly traversing a map, they do have one shortcoming — they can’t run up walls. However, they can climb up leafy vines that you may find on walls, so make use of them if you see them. Plus, if you climb up vines with your Palamute, it won’t drain your stamina.
Your Cohoot hoards items for you at its nest
At the start of each quest, you can see your hunter sending out the Cohoot. You may think that this is to have the owl find the large monsters and tell you where they are on the map, but there’s more to it than that. It seems that the Cohoot will find random items for you as well. It feels like you get one random item for each hunt, and the Cohoot will have a max of five items available for you at its nest, so make sure to check it after every five quests or so.
But where is the nest? Just head over to the Buddy Plaza, and look for the large tree with a shrine towards the back of the area. Go around the tree, and you’ll find some vines that you can climb. Up at the top, your Cohoot is waiting for you, and you’ll see some items in its nest. You may find items that include trap tools and even some trade-in items like Steel Eggs, so check often after every few missions!
It’s easier than ever to know when you can capture
When it comes to hunts, there are two ways to go about completing it successfully: you can slay the monster, or you can capture it. The latter can also end hunts sooner, just because you don’t need to deplete its health points to zero. Some quests also require capture, and killing the monster ends up failing the quest, so pay attention.
There are always telltale signs that a monster is ready for capture. In previous games, you knew because the monster would start to limp away to go to sleep and rest up. But in Monster Hunter Rise, it’s easier than ever to know when you can capture a monster. Your hunter or Palico will say something about “It’s getting weaker!” which means that it’s ready to be captured. There is also a blue skull icon under the monster portrait in the upper right corner as well. When you see that, ease up on the attacks and get ready to lay down a trap.
Yes, you can pause
One feature that was present in older games, and wasn’t in World, is the pause feature. Since each mission has a timer (usually 50 minutes), time is always of the essence in Monster Hunter. If you are doing a single-player Village Quest and need to take care of something, you can pause the game! To do this, you could press the Home button on your Nintendo Switch or bring up the menu in Monster Hunter Rise and select “Pause.”
The pause feature only works in Village quests and not multiplayer Gathering Hub quests, so make sure to keep that in mind.
Great Wirebugs are permanent
As you play, you’ll get optional sidequests to do, including taking photos of certain critters for Senior Hunter Hanenaga. Your reward for completing these are some Great Wirebugs. At first, you may think that these are some consumable item to use while traversing around, but nope! You place Great Wirebugs in Jewel Lilies that you find on a map, and they become a permanent upgrade. Once you deploy a Great Wirebug into a Jewel Lilies, using it lets you launch yourself in whichever direction the arrow is pointing in. These are a good way to travel quickly, whether it’s flying halfway through the map or just reaching the top of a cliff.
Weapon Sharpness now has a sound effect
Every weapon (except for Bow, Heavy Bowgun, and Light Bowgun) has sharpness, which ranges from red all the way to white. The more sharpness a weapon has, the more damage it will do. However, sharpness wears down as your attacks connect and damage a monster, and as sharpness wears down, so does your damage.
In previous games, you’d have to keep an eye on your sharpness meter often. However, in Monster Hunter Rise, you will hear a loud shatter during combat — this is the new sound effect when your sharpness drops. Make sure not to let your sharpness get down too low for maximum efficiency, and use a whetstone to sharpen up your weapon for best performance, yes, including blunt weapons.
Sharpening while your weapon is out will cut down on the animation time, and you can also summon your Palamute for a ride and sharpen while moving that way.
Check Rondine’s Rare Finds after every hunt
Rondine is in charge of The Argosy, which lets you send some buddies off in submarines to get useful items for you. But she also has some other items that you can trade points for, including some Rare Finds. The Rare Finds can include some things that are more tedious to obtain, like Kelbi Horns, so make sure to use some points to get those hard-to-come-by items from her. The inventory rotates out after you return from a quest, so check back often.
Have Charms and Talons with you at all times
It’s always good to have more attack power and defense in hunts, and there are four items in the game that can give you a boost to attack and defense, and you don’t even need to equip them. In fact, all you need to do is carry them in your item pouch for them to work.
These items are the Powercharm, Armorcharm, Powertalon, and Armortalon. The Powercharm and Armorcharm can be purchased from the merchant for 36,000 and 24,000 zenny, respectively. You will need to combine these with the Ibushi Claw+, which can only be obtained by hunting a High Rank Ibushi, to create the Powertalon and Armortalon.
And yes, the Charms and Talons stack with each other, so when you have all four in your item pouch, you get a total of +15 attack and +30 defense, permanently, as long as you carry those items with you.
Top off at the tent
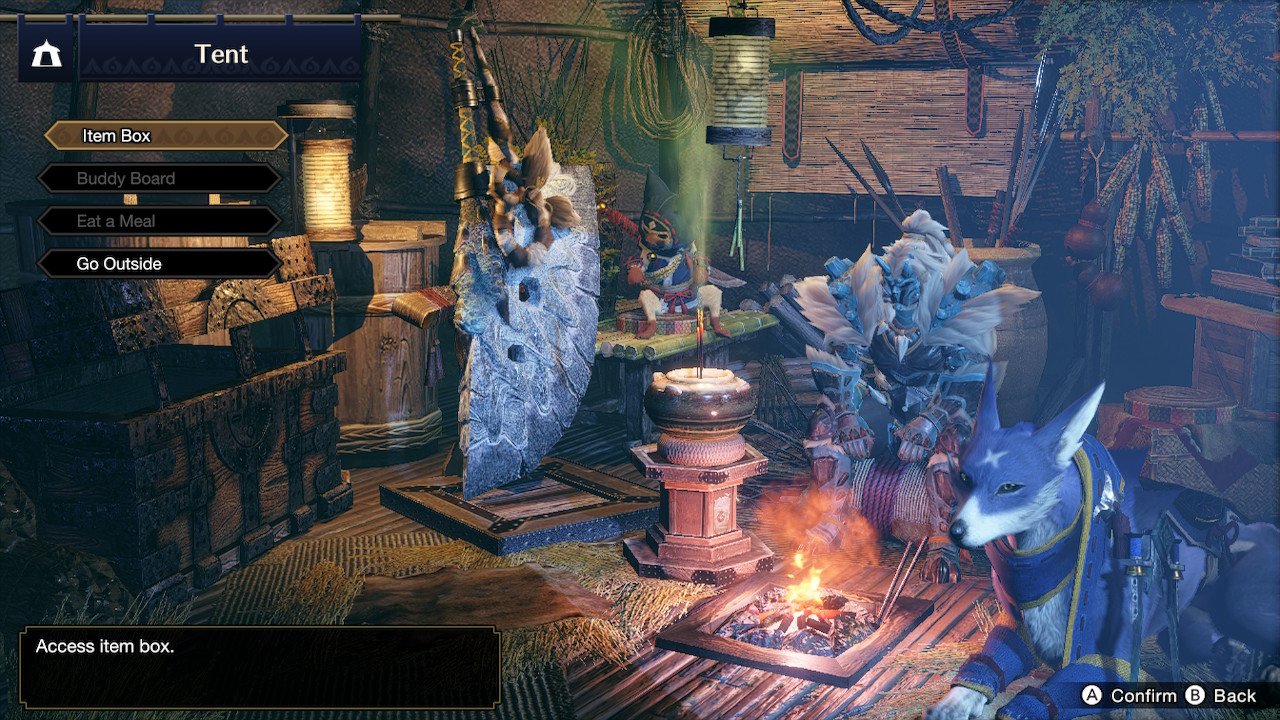
No matter how good you think you are, carting happens. Thankfully, you get three carts before it’s considered quest failed, and the first two carts will send you back to camp, where the tent is. You’ll always want to remember to stop by in the tent before returning to the monster because you can refill on potions and other healing items, and you can change out your decorations and equipment if necessary. You can also eat a meal again to get some useful effects, though it seems that the health and stamina boosts from previous meals don’t disappear from carting in Monster Hunter Rise.
Remember, the tent is there for a reason, so make sure to make use of it to prevent another cart!
Start with Village Quests to obtain Special License Test quests
If you’re a newcomer to the Monster Hunter series, I would recommend doing the Village quests first, rather than the Gathering Hub. Village quests are single-player only, and even though it goes up to 6-star level quests, it’s all considered Low Rank. That means that they are much easier than Hub quests and are scaled for only you. Gathering Hub quests are scaled for 2-4 players and can be considered much more difficult to take on yourself.
But there is another benefit to tackling Village quests first. Once you get far enough, you’ll unlock some Special License Test quests. Completing these will allow you to skip having to do the Low Rank Hub quests, and when you complete all of them, you can jump right into High Rank in the Gathering Hub since they also boost your Hunter Rank to four.
If you did not unlock these and you’re already in High Rank Hub quests, then, unfortunately, you can’t get these quests.
Hunters, rise up and hunt!
Monster Hunter Rise is shaping up to be one of the best Nintendo Switch games, having already sold 5 million copies in the first two weeks. While it’s the most accessible Monster Hunter game yet, there are still many things that you have to figure out on your own, like all the things we mentioned here.
Do you have your own tips that you want to share with other Monster Hunter Rise players? Let us know!
