How to build your own retro games console for around £50

Like vinyl records and homebrewing, retro gaming is in the throes of resurgence. There are reimagined machines based on just about every console and computer of our youth, while digital download stores are crammed with old classics or retro-inspired games.
There’s also another way to get satisfy that retro gaming itch, you can make your own retro games console from scratch (see what we did there?).
We’ve done it ourselves, in fact, using a Raspberry Pi 3 Model B plus a free download of Retropie. And, because the free software sets up the final build with emulation for a vast number of computers and consoles, it can be argued that you end up with a machine that’s a lot better than many much sought-after reissues.
You have to source the games online yourself, as you can only legally download and play them if you own the originals or if their licence has expired, but technically you can build a console that is capable of playing games for more than 50 systems. That includes NES, SNES, Megadrive/Genesis, N64, ZX Spectrum, C64, PlayStation, Amiga, Atari ST and more.
Interested? Well, here’s how to do it…
What you need and how much it costs

Raspberry Pi 3 Model B – from £30
squirrel_widget_158069
You can actually use a Raspberry Pi 2 or even a first generation version, but they are slower in operation and will therefore struggle with some games. There’s also the more recent Raspberry Pi 4, of course, which will improve the processing power. But, for the price, you are best opting for the Pi 3 Model B which has Wi-Fi and Bluetooth connectivity built in, like the 4, but is cheaper.
Raspberry Pi 3 case – from £4
squirrel_widget_158080
There are plenty on the market including some for even less than a fiver. It’s up to you how you’d like your finished console to look. We particularly like the official sloped white and red case, but are equally as enamoured by a simple black case that suits the rest of the kit under our telly.
If your budget stretches a little further, you can buy a Raspberry Pi case that looks just like a tiny Nintendo Entertainment System. It even comes with its own fan unit. There’s also one for the Raspberry Pi 4.

microSD card (16GB) – from £5
squirrel_widget_158089
We actually opted for a 64GB microSD card at around £16, but to keep within a rough £50 budget, a 16GB version does the job just as well. It will more than hold the Retropie operating system, plus has plenty of space left over for games.
Raspberry Pi 3 power supply – from £8
squirrel_widget_158099
If you have a standard mini-USB cable to hand, that will do to power your Pi. However, for the full effect we’ve added its own, dedicated power unit. Third-party versions can be sourced for cheap.
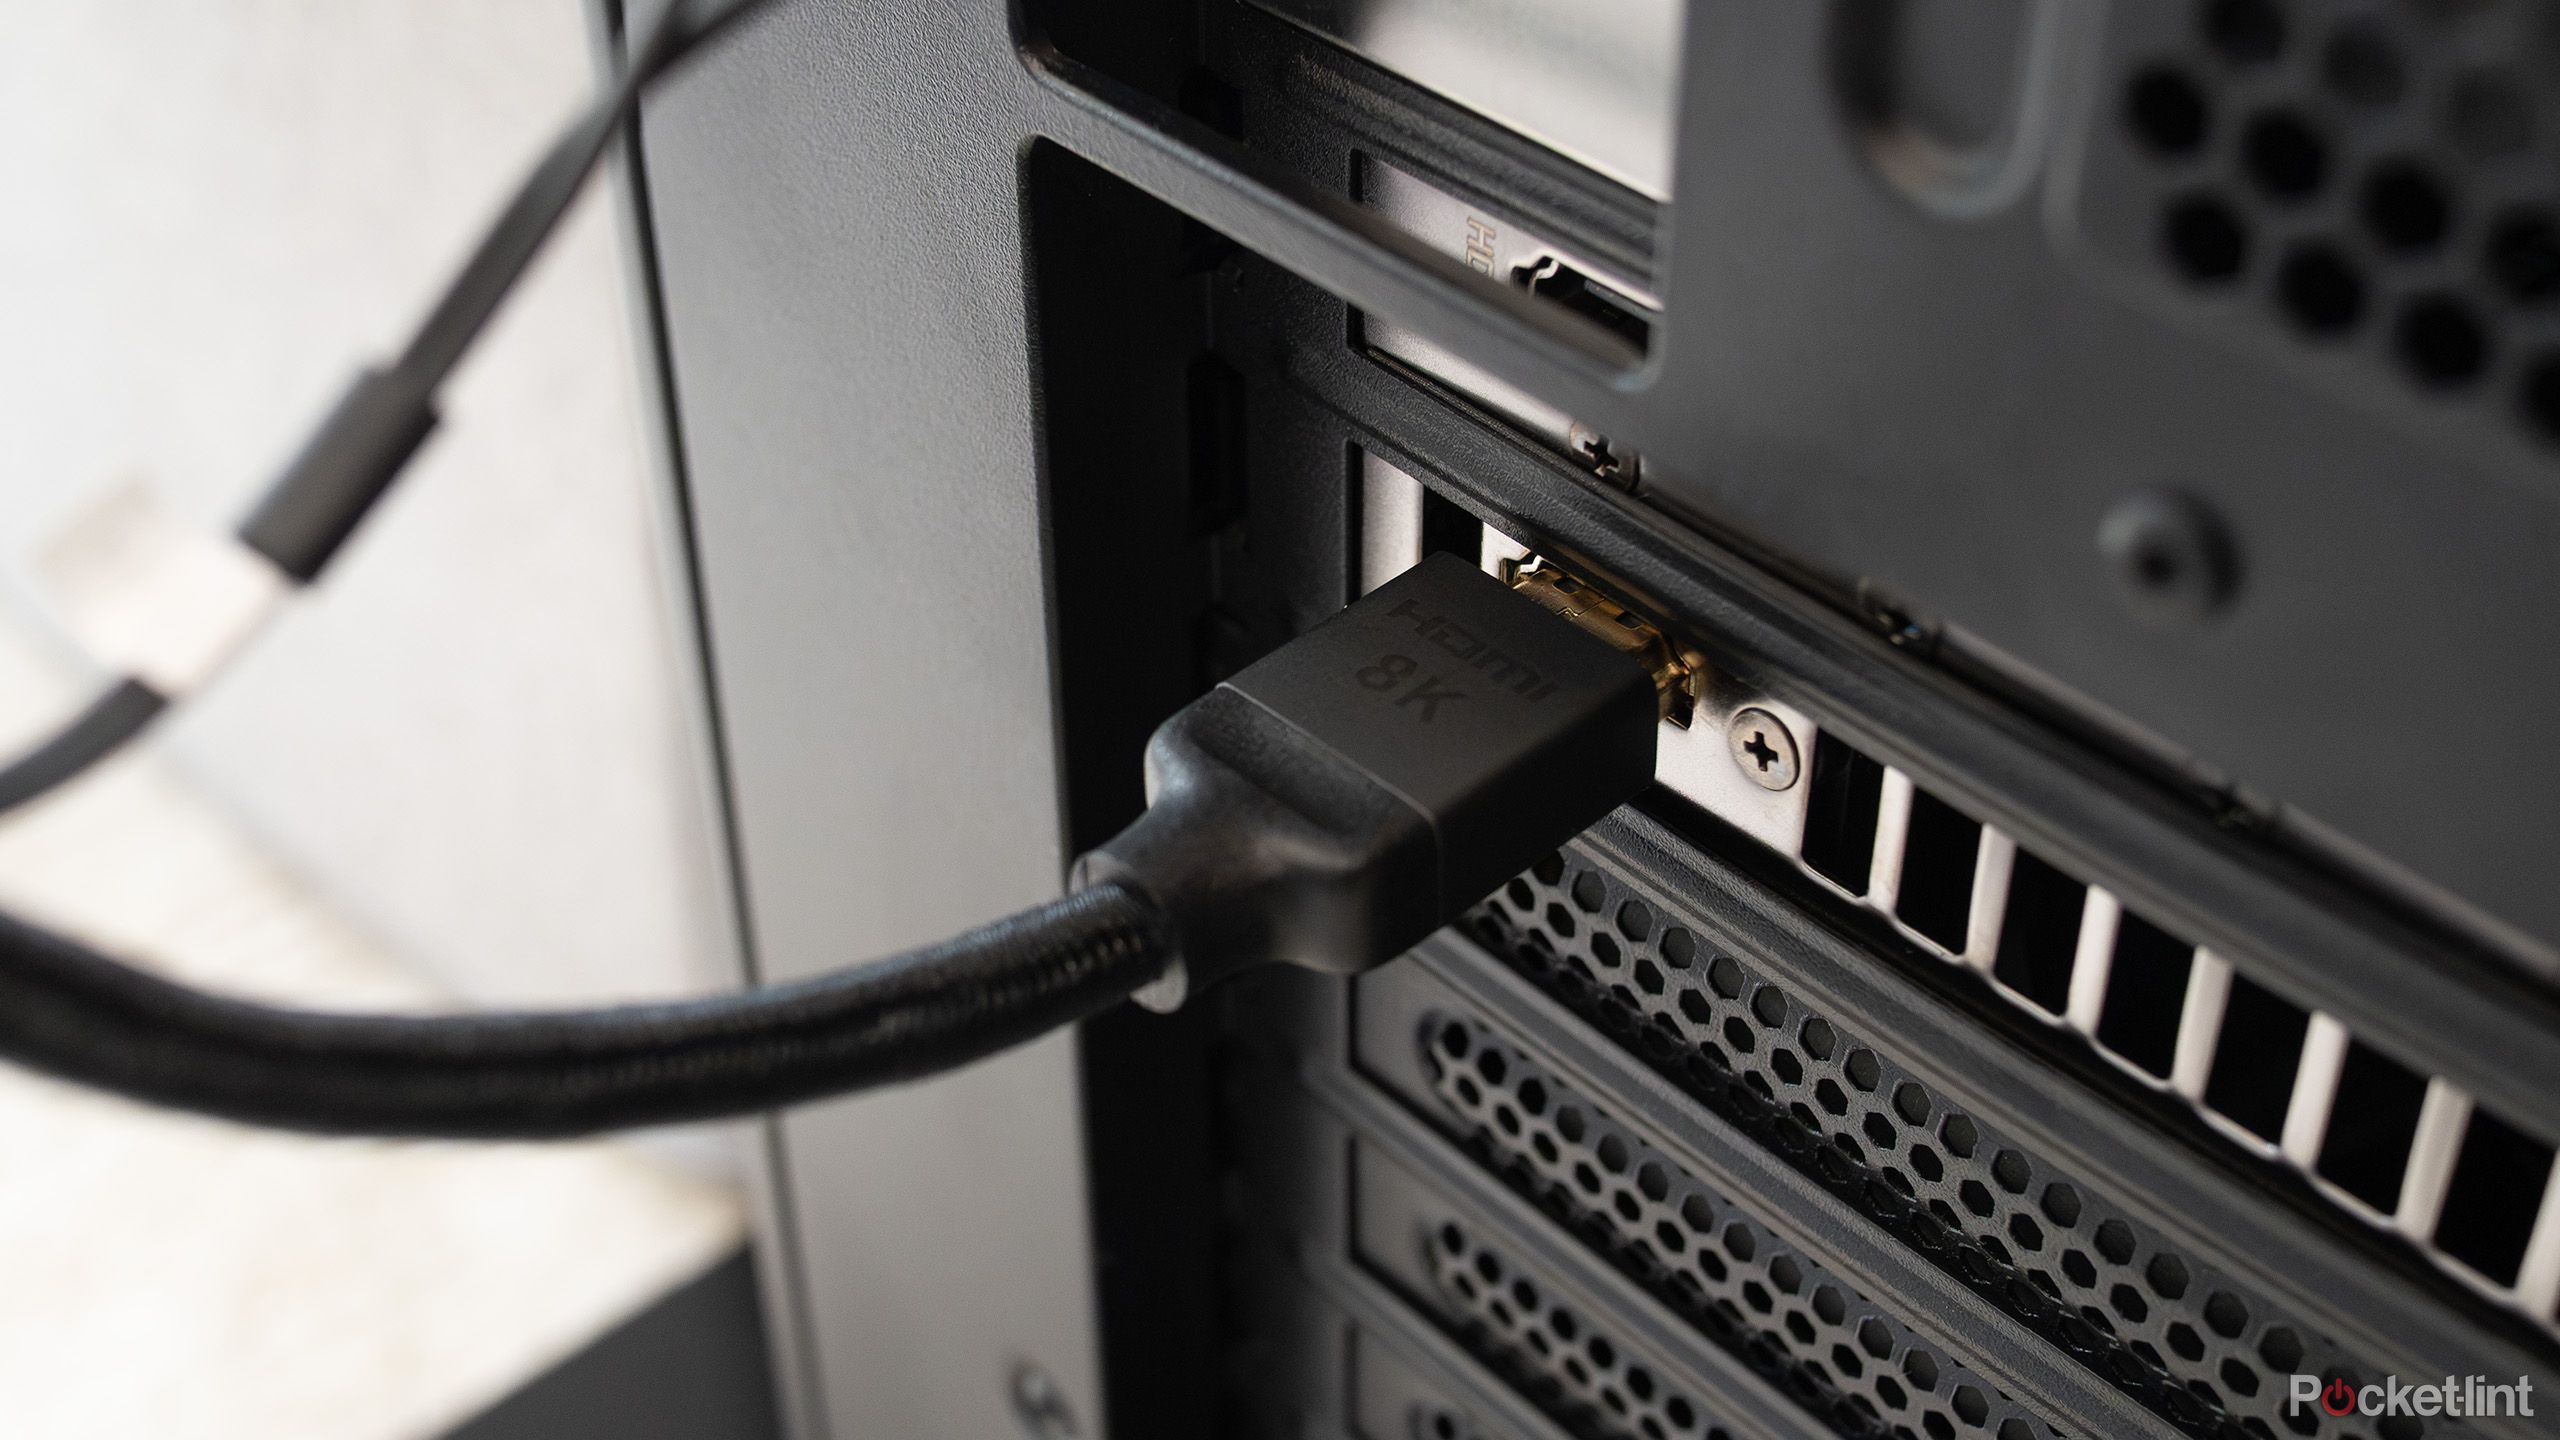
HDMI cable – from £1
squirrel_widget_158109
A HDMI cable from the pound shop will do just as well as any other. Or you can get them online for a little more.
Additional accessories
You will also need a joypad of some description. There are dedicated USB controllers, even some styled around the original SNES or N64 pads, which go well. That’s why we’ve chosen the former – an Buffalo Classic USB Gamepad, which looks exactly like the PAL Super Nintendo pad from yesteryear. You can also get versions based on the purple Super Famicom design.
You can also get a Bluetooth retro controller, such as the 8bitdo SFC30, which will sync with your Raspberry Pi 3 wirelessly.

If you have a spare Xbox One or PS4 pad lying around, they work too.
It’s a complicated process though, which you can read about here for Xbox One, and here for the DualShock 4.
It is also handy to have a USB keyboard to hand too as you will need to input text during the process.
Software
The Raspberry Pi 3 itself comes with four USB 2.0 ports, an Ethernet port, HDMI output and power socket. It also has a microSD card slot which is compatible with a large array of different cards, including some 128GB cards.
The card will double as storage space for the device, but you also flash it with the user interface and software you desire.
There are several operating systems available, with Noobs and Raspbian being the most popular. They are all based on Linux, but the one we are interested in for our retro games console is Retropie.

Retropie
Retropie is free software available to download here. It builds upon the Raspbian system and can be overlaid on an existing OS or installed as a standalone image.
It gives access to the host of console and computer emulators needed to play games, and also other software such as the media player and streaming platform Kodi.
You essentially download it and install it onto your microSD card (previous Pi computers use a standard sized SD card instead). Then, when inserted into the Raspberry Pi, it will boot automatically and present a user-friendly interface that makes it a doddle to get to and choose your favourite games.
In essence it turns a small, barebones computer into a fully-fledged games console. For free.
Step 1: Install Retropie
After downloading the file marked as a Retropie SD-card image from the Retropie website (there are two different files, one for Pi 0 or 1 and one for the Pi 2 or 3, so make sure you get the right one), you need to install it onto your microSD card.
You’ll need a PC or Mac and a microSD card slot or reader. You will also need software that can extract a .gz file. And a tool to install the .img file found in the compressed file onto the card.
For the PC, you can use Win32DiskImager. Mac users can use Apple Pi Baker v2. They are both free to download and install.
Linux users can get instructions of how to burn the image onto a card here.

Step 2: Insert microSD card into Raspberry Pi
On the underside of the Raspberry Pi 3 (or 4) there is a tiny slot for the microSD card. Most cases also have an opening for you to insert the card without having to take the Pi board back out.
Insert the card and plug the Raspberry Pi in to power it (it doesn’t come with a physical power switch as standard). Beforehand, also ensure that it is connected to your TV, monitor or AV receiver through HDMI. And it is advised at this point that you have a keyboard plugged into one of the USB ports – a gamepad too.
Step 3: Boot-up and joypad configuration
The first time you switch it on, the Raspberry Pi will run through installation procedures and set itself up fully. You will be greeted by the Retropie loading screen and then joypad configuration software.

You have to assign the different buttons of the gamepad by pressing each as requested. Sometimes you will be asked to press the corresponding key when there isn’t one, such as on the SNES-style pad. Just hold any button in that case and it will skip that input. We also found that the SNES pad’s top bumpers worked as LEFT BOTTOM and RIGHT BOTTOM buttons rather than those listed TOP.
Once the pad is configured you will find yourself in Emulation Station, a front-end that has easy, graphical access to each of the different emulators on offer.
At the beginning, you’ll not see that many as they only appear when you add ROMs – the game files for each system. Before you do though, there are a few sub-steps we advise going through first.
Step 4: Wi-Fi and screen size
To begin with, the Raspberry Pi 3 has wireless and wired internet connectivity. If you want to set it up through Wi-Fi, you need to go into the Retropie menu and down to the “WIFI” section. There you will be given the option to choose your Wi-Fi connection from a list and enter your security key. You’ll need a keyboard plugged in for this.

Another thing you might find that you need to do from the off is change the screen size. We run our Raspberry Pi console on a 65-inch 4K LG OLED TV (oh yes) and from the beginning it doesn’t expand to fit the entire screen – there is a large black border surrounding the menu and, subsequently, any games we run.
There doesn’t seem to be a menu option to correct this, but you can simply get rid of the borders by editing a config file in the command prompt. You get there by quitting EmulationStation. Then enter “sudo nano /boot/config.txt” on your keyboard without the quotation marks. Note there is also a space between “nano” and “/boot”.
This will open the boot config file. Scroll down to “#disable_overscan=1” delete the hashtag so it just reads “disable_overscan=1”. Save it using CTRL X and then Y, then press ENTER to confirm. Now reenter EmulationStation by typing “emulationstation” into the prompt (without the quote marks again) and then quit and restart system.
The black surround should be gone.
Step 5: Add ROMs (games)
While Retropie and the EmulationStation are fantastic pieces of software, bar one or two exceptions, the emulators don’t come with games pre-installed. You’ll have to therefore find the games yourself.
This is where it gets a bit dodgy when it comes to copyright.
If you don’t already own a game, downloading and installing a ROM on Retropie is 99.9 per cent of the time illegal. That’s why we’re not going to actively tell you to go and download classic SNES, NES, Mega Drive or other console games from the past. We will though point you to some online resources that might have them available for download and then you can decide whether you want to or not.
One excellent site for ROM files is Emuparadise. It has a vast number of ROMs and ISO files for many of the consoles and computers supported by Retropie, including Super Nintendo, NES, N64 and many more, even PSOne games.
Another we have loved throughout the years is World of Spectrum, which stores ZX Spectrum games available to download. It’s a fantastic resource of everything Speccy even if you don’t download the files.
Then there’s c64.com for Commodore 64 games.
To be honest, you only need type “ROMs” into Google and you’ll find plenty of download sites.

Once you’ve downloaded ROMs onto your PC you need to transfer them onto the Raspberry Pi itself and you’ll need a USB memory stick for that. It’s actually a doddle to do and here’s how:
- Insert a USB stick (formatted to FAT32) into a spare port on your PC or Mac.
- Create a folder on the stick called “retropie” (without the quotation marks).
- Remove the stick from your computer.
- Insert the stick into one of the spare ports on your Raspberry Pi and wait for a while. This is because Retropie is creating the correct folder system on the stick that it needs to recognise ROMs.
- Remove it from the Raspberry Pi.
- Insert it back into your computer’s USB port and you’ll see that there are are folders for all the major different console and computer types inside “retropie/roms/”.
- Just add the relevant ROMs into the respective console or computer folder.
- Unplug the stick from your computer and plug it back into your Raspberry Pi.
- You’ll need to wait for the Pi to recognise all of the ROMs and it can take quite a while depending on how many you have.
- Refresh EmulationStation by hitting “F4” on your keyboard or through the start menu.
- The games should be available under the logo for each console or computer.
- Bingo.
We’ve actually found that this process can take a while to complete for the ROMs to be ready and playable. You might also find some ROMs just won’t work. Not all the emulators are perfect and the older the games machine, the more likely they will work properly.
In addition, not all file types will be recognised by each emulator. And some emulators require BIOS images before they work (such as the Amiga).
You can find out more, and which file types are best for each emulator on Retropie’s FAQ here.
Step 5: Tidying the games lists
When you first add ROMs, they will be presented in the menu for each emulator in a list as a file name. However, you can make the whole interface look more professional and Plex-like by “scraping” the metadata and cover art from the internet.

Before you start, you should expand the usable space left on your microSD/SD card. When Retropie installs, it only uses a fraction of the card’s storage space, but the installation process can lock off the rest of the card, preventing you from writing information – such as metadata – to the remainder.
Just head to the Retropie menu, select Raspi-config and the top option in the subsequent menu enables you to expand the filesystem.
When you return, there is a Scraper option in the menu which will search for the correct game art and details for every ROM you have stored. You can also filter for a specific machine and there are two different resource sites that can be selected.

Depending on your internet connection, this is either a speedy or lengthy process, but we think it’s worthwhile for the end results.
Conclusion
Of course, if all this sounds a little too complicated you can keep checking Amazon.co.uk to see if either of the Classic Minis are back in stock. But we think it’s worth persevering.
Above are the basic steps you need to perform to set up your Raspberry Pi/Retropie games console and they really aren’t that hard. There are plenty of other tweaks and improvements you can make, including the installation of less stable emulators to play even more game types (such as Sega Saturn).
You can also overclock your Raspberry Pi 3 to get rid of some errors in games, specifically with N64 games where they can often have issues with sound. Overclocking the Pi might be hazardous and cause it to dramatically overheat – it will shorten its life for sure. If you really want to though, here’s a video on how to do it.
We’re just thrilled to have a fully working NES, SNES and Mega Drive games console that’s the size of a kitchen box of matches, to be honest. One that we can tap into any time we like. The upscaling tech also works brilliantly on our 4K TV, with no blur or drop out.
It is quite simply awesome and we thoroughly recommend it to every games player out there.


